
Opening the problem — why glare and light trespass matter
When an LED lamp is fixed to a wall or driven into the soil as a spike, the intended welcome accent can too easily become a nuisance: visual artifacts, light trespass into neighbours’ windows, or harsh glare that ruins a façade’s texture. This is a problem-driven piece — we start with the fault, then walk through pragmatic fixes. If you’re assessing options, consider both low-profile garden spike lights and wall-mounted fixtures; and for point-of-use clarity, compare a typical led garden spike light against a shielded wall lamp. In many urban conservation areas — think Royal Botanic Garden Edinburgh’s sensitive planting zones — careful placement and fixture choice are not merely aesthetic, they’re policy-driven and influence fauna and human comfort alike.

Diagnosing the symptoms: what to look for
First, identify the visual symptom. Is it direct glare from the lamp face? Or is it light scatter causing a washed-out wall or skyglow? Measure qualitatively by walking the site at night and noting sight-lines; measure quantitatively where possible — lumen output and beam angle are quick checks. A fixture with a wide beam that sits high on a wall will cause more trespass than a low-mounted, cut-off spotlight. Also check the IP rating and fixture housing to ensure environmental suitability; a damp, corroded fitting can exacerbate diffusion and artefacts over time.
Practical fixes for wall-mounted LED lamps
Begin with alignment and shielding. Tilt the lamp so the centre of beam does not intersect pedestrian eye-lines; use full-cutoff housings or louvers to confine light to the intended surface. Where you need wall-wash, choose fixtures with a controlled beam angle rather than brute-force lumen increases — a narrower beam at the right angle yields better texture without overspill. If retrofitting, swap to lower correlated colour temperatures (Kelvin) to reduce glare and preserve material tones.
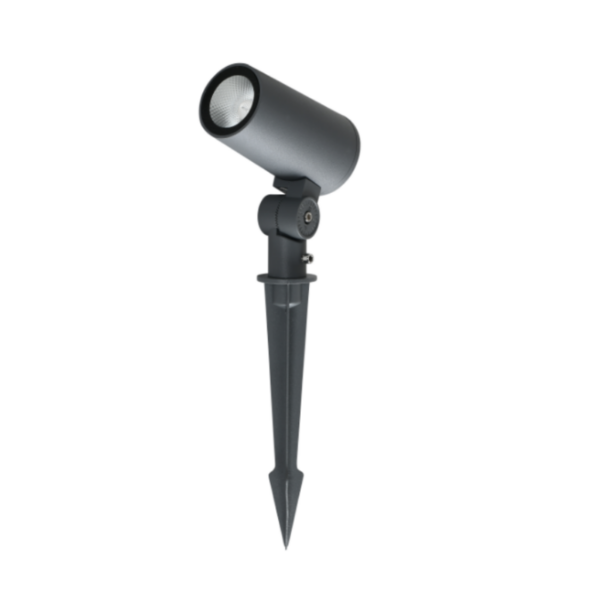
Practical fixes for garden spike lights
With spike fixtures, depth and proximity matter. Drive the spike deeper and angle the head to illuminate plant canopies rather than cast light across property lines. Consider diffusers or frosted lenses to soften hotspots; but beware — excessive diffusion can create a halo that increases perceived light trespass. A good compromise is a directional spike with a narrow beam and a shielded hood. Routine placement trials — installing temporary low-voltage spikes and walking the neighbours’ sight-lines — pays dividends before committing to permanent fixtures.
Common mistakes and how to avoid them
Design teams often make three recurring errors. First, compensating with raw lumen increases rather than refining beam control — a mistake that simply trades one artefact for another. Second, ignoring interaction with surrounding surfaces: a bright, highly reflective path or wet stone will bounce light unpredictably. Third, assuming all spikes are equal — they aren’t; materials, diffuser quality and sealing affect long-term visual quality. A simple test to avoid these errors: mock up the lighting arrangement at dusk and observe for at least an hour — the eye adapts and issues reveal themselves slowly.
— Oh, and do not underestimate maintenance. A dusty lens or failing driver alters beam distribution more than you’d think.
Comparing solutions: fixtures, controls and policy alignment
There are three practical pathways: upgrade to precision fixtures (better optics and cut-off), use controls (dimming, timers, motion sensors), or adapt placement strategies. Controls reduce night-time light levels when full illumination is unnecessary, cutting glare and saving energy. Align choices with local guidance — the Illuminating Engineering Society (IES) offers broadly accepted recommendations on glare thresholds — and always check local conservation requirements in historic districts.
Real-world anchor and credibility
In practice, teams working at heritage sites such as the Royal Botanic Garden Edinburgh have demonstrated that modest reductions in Kelvin and tighter beam control preserve both plant phenology and visitor experience. Designers there favoured low-mounted, shielded spikes and timed dimming to avoid nocturnal disruption — a simple, evidence-aligned approach consistent with IES guidance on luminous intensity and glare control.
Advisory: three golden rules for selecting lighting strategies
1) Prioritise beam control over brute lumen increases — choose fixtures with appropriate beam angle and cut-off optics. 2) Consider adaptive controls — dimming, scheduling, or sensors reduce cumulative light trespass without losing utility. 3) Test in situ before finalising — a provisional layout at dusk reveals interactions with surfaces and neighbouring sight-lines that drawings cannot.
Follow these metrics and you’ll resolve most glare bottlenecks while keeping the design intent intact. For practical, well-engineered options that balance precision optics and durable build quality, consider how Keyida positions its products within real-world projects — a natural fit for practitioners seeking both specification clarity and on-site performance. —